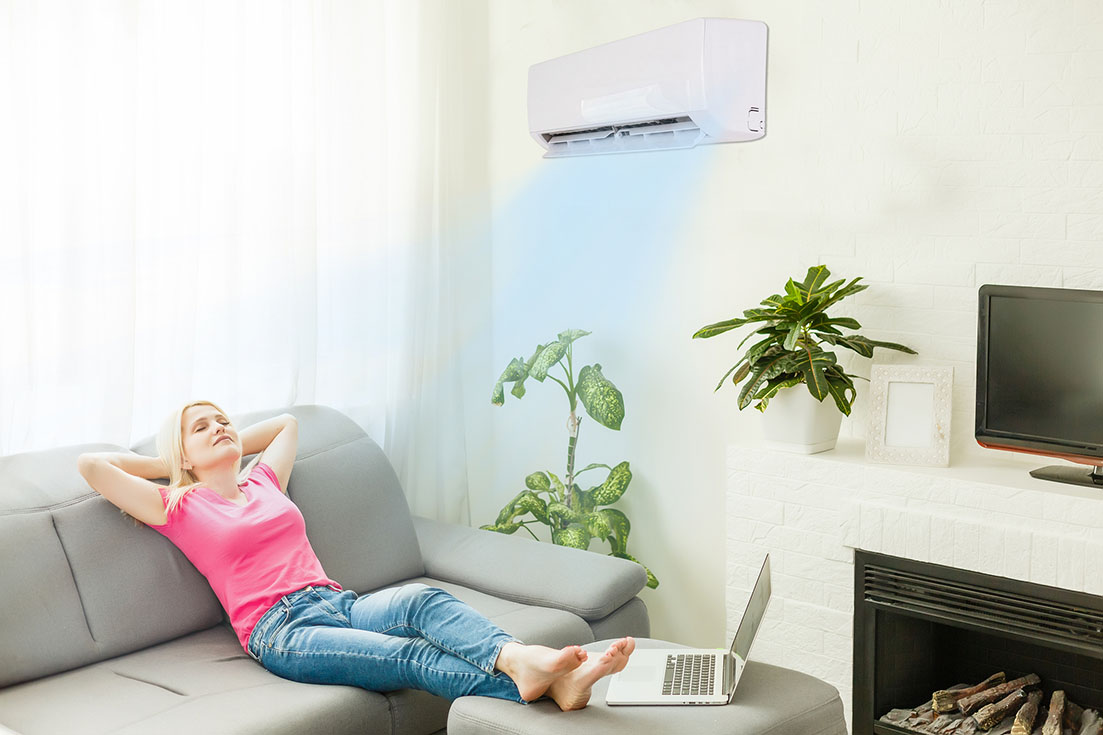
As the summer heat increases across the Tri-City, Tennessee area, your HVAC system becomes your best friend. But what happens when it stops cooling as needed? Don’t sweat it! This DIY guide will help you troubleshoot common summer HVAC problems.
Why Use an HVAC Troubleshooting Checklist?
An HVAC troubleshooting checklist can be a lifesaver. It provides a quick way to identify issues based on symptoms. This speeds up the diagnosis process and helps you understand the potential severity of the problem and if it is time to call your local HVAC repair company.
- Check the Thermostat: Start by checking your thermostat and making sure it’s set to the correct mode and temperature. Sometimes, switching from “fan” to “cool” can solve the problem.
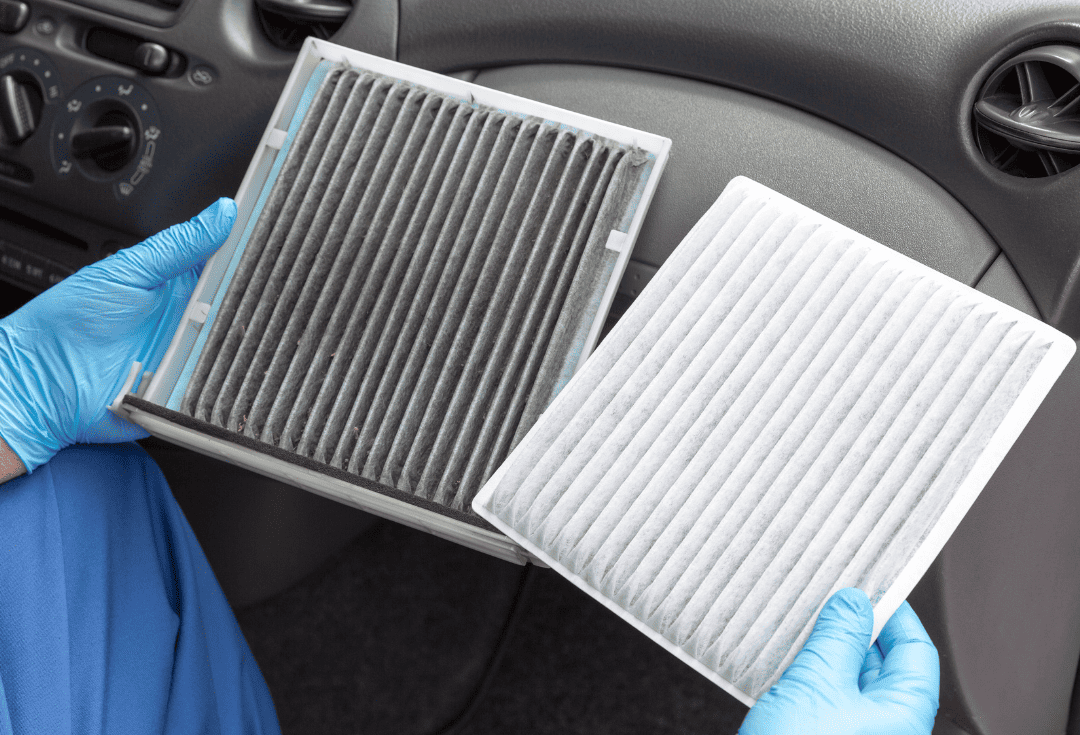
- Inspect the Air Filter: A dirty air filter makes your HVAC system work harder and can severely restrict airflow. Simply replacing a dirty air filter can solve many HVAC problems.
- Check the Condenser Unit: The condenser unit, typically located outside, may get obstructed with dirt, leaves, and debris. Thoroughly clean the unit to ensure it functions optimally.
- Check the Power Supply: Ensure your HVAC system is plugged in and the circuit breaker hasn’t tripped. Reset the breaker if necessary.
- Inspect the Thermostat Wiring: Faulty wiring can prevent your thermostat from communicating with the HVAC system. Check the wiring for any visible damage and consult your HVAC troubleshooting chart for wiring specifics.
- Test the Capacitor: The capacitor helps start the HVAC system. If it’s faulty, your system won’t turn on. Use a multimeter to test the capacitor and replace it if needed.
- Tighten Loose Parts: Use a wrench or screwdriver to tighten any loose parts. This simple step can often eliminate the noise.
- Replace Worn-Out Components: If tightening loose parts doesn’t solve the problem, you may need to replace worn-out components like belts or bearings.
- Check the Air Vents: Make sure all vents are open and unobstructed. Blocked vents can restrict airflow, leading to uneven cooling.
- Inspect the Ductwork: Leaks or blockages in the ductwork can also cause uneven cooling. Inspect the ductwork for any visible damage and seal leaks with duct tape.
- Balance the Dampers: Dampers control the airflow to different parts of your home. Adjust the dampers to balance the airflow and achieve even cooling.
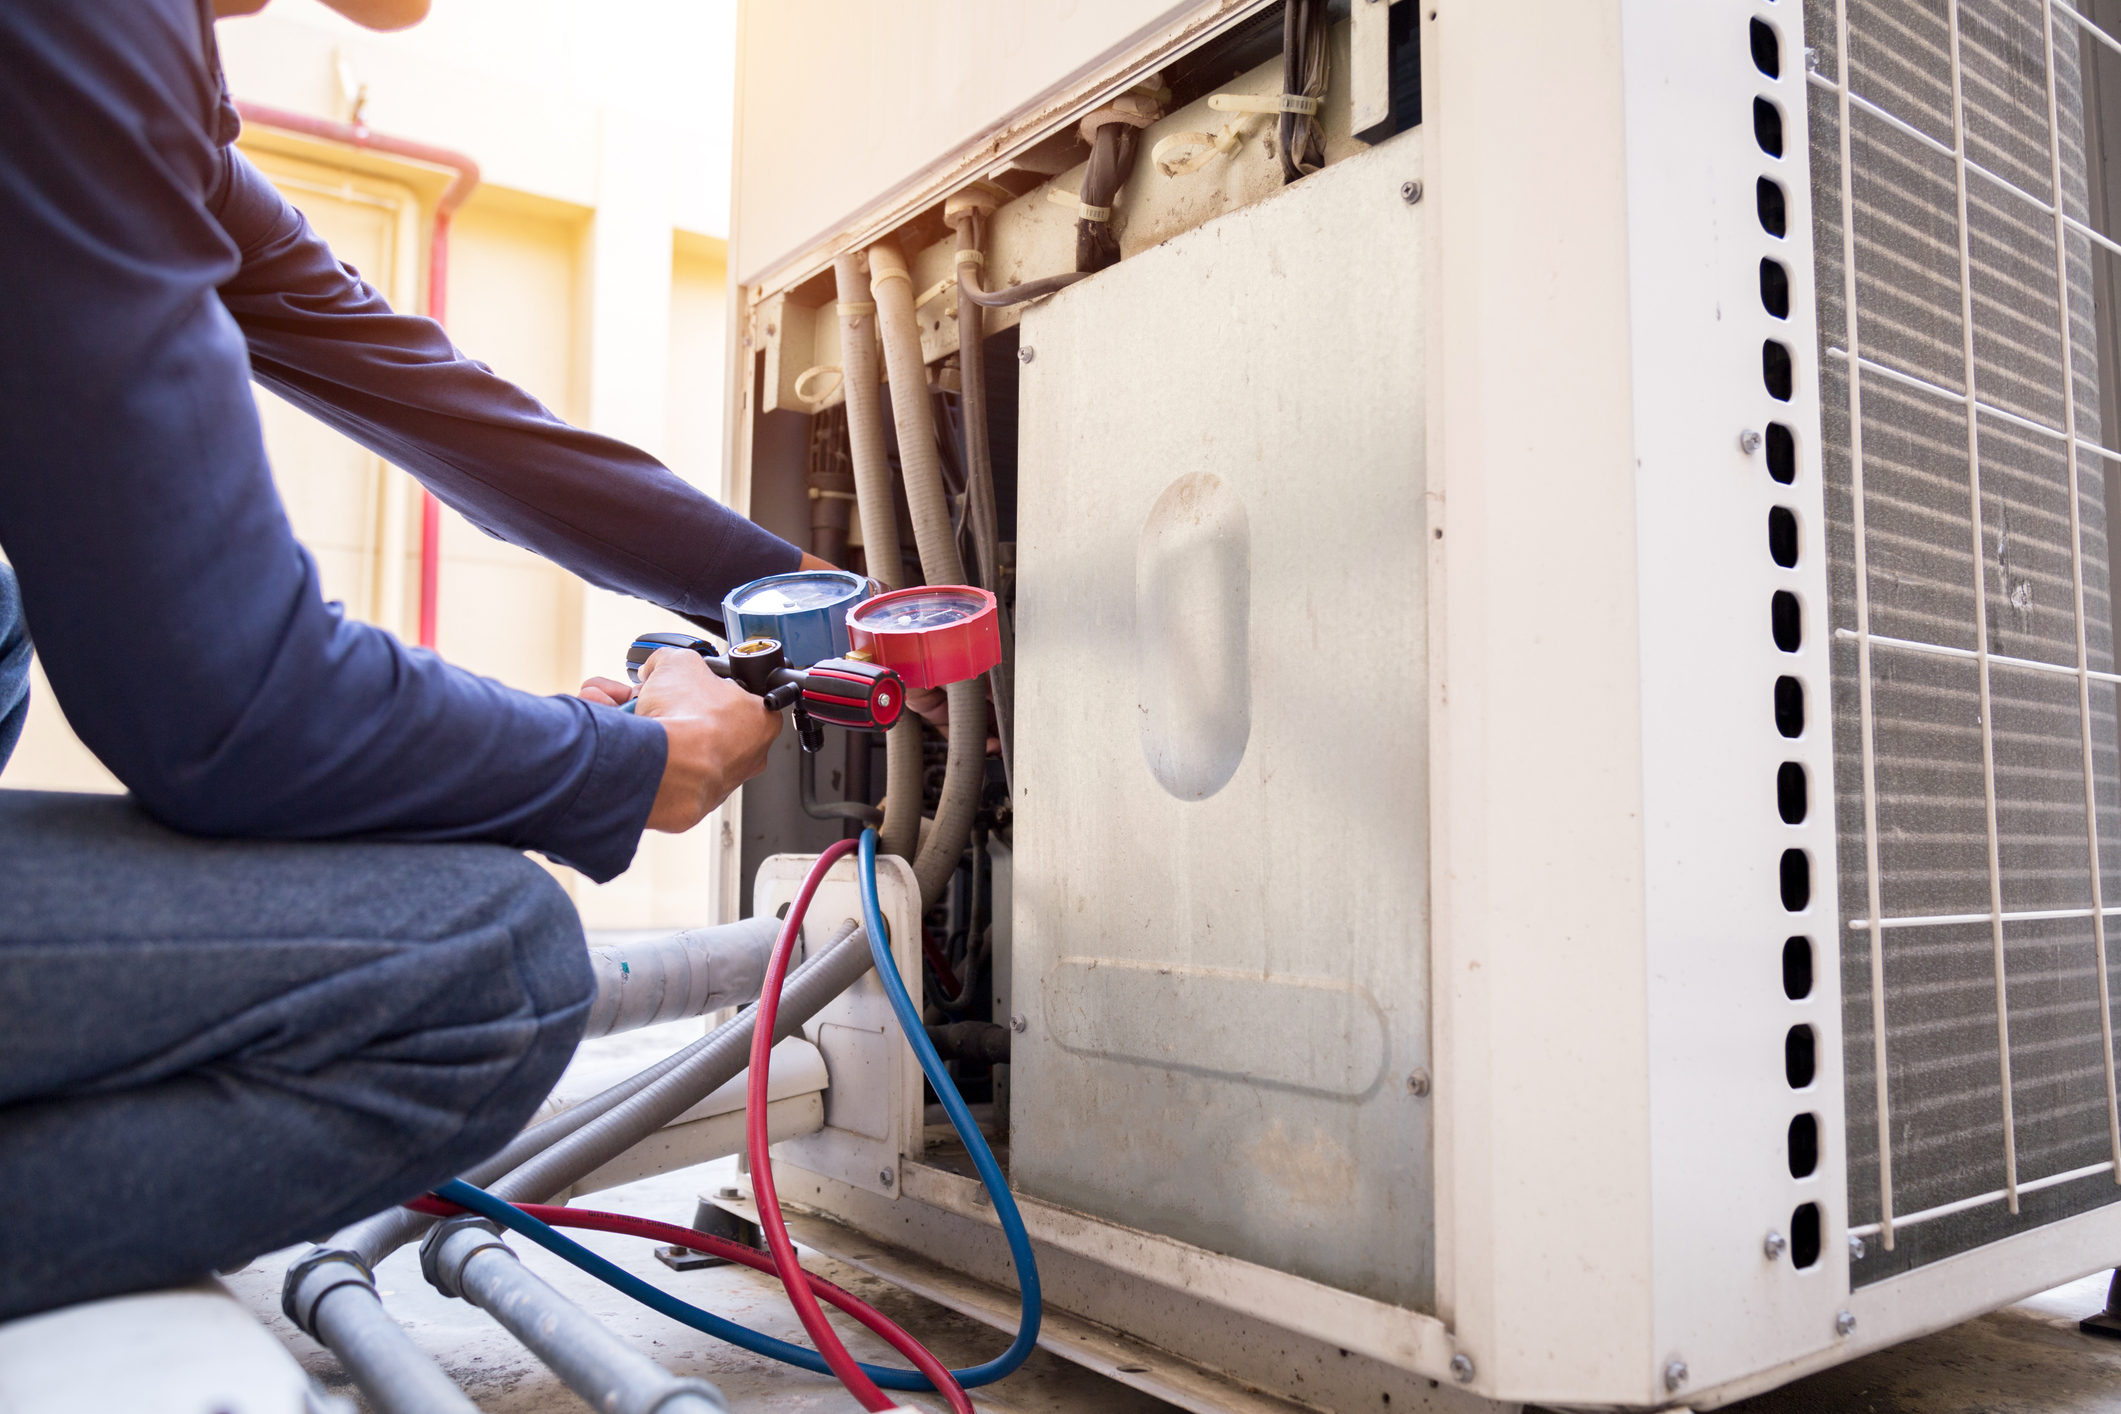
- Test the Refrigerant Levels: Low refrigerant levels can also cause short cycling. Use a refrigerant gauge to check the levels and add refrigerant if needed.
When to Call a Professional HVAC Repairman
While this guide offers solutions for many common HVAC problems, some may require professional assistance. If you can’t diagnose or resolve a problem using your HVAC troubleshooting chart, don’t hesitate to contact Tri-City Air Conditioning to solve all your HVAC cooling and heating problems.